

The big plumb
Last Big Thing that had kept us from living downstairs was the final plumbing. The big push.
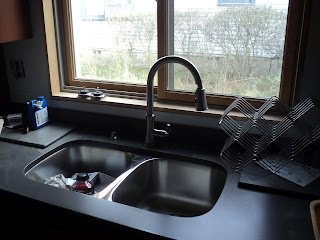
We had the new dish washer ordered and delivered. We had the new kitchen faucet, sleek and wonderful. We had a newish hot water heater that we picked up a the builders sale several years ago and new place to put it. We had the original toilet (fixed up), the clawfoot tub Deder refinished this summer, and a pedestal sink for the bath ( found on the side of the road). We even had the very fancy hardware for the clawfoot tub (it cost more than the tub).
We called the plumber that had redone the house back when the walls were down to add the stub-outs and install our accumulated waterworks. First the sink:
 Then the tub.
 You'll notice it's still missing a drain. Well, that turned out to be another learning experience. This is how it looks now:
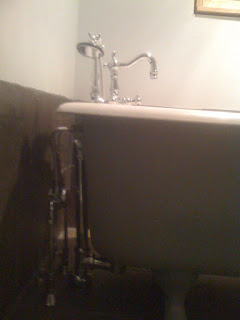 And of course the sink, the free sink was too damaged to use, but we lucked out and found a basin to work with the old square pedestal.
 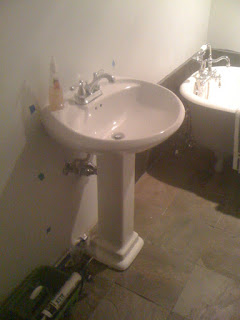 Most importantly, the head:
 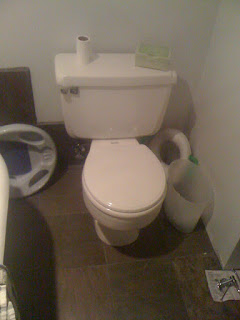 Barkeeper's Friend is now my friend, now that porcelain takes up so much of the bath.
 Lets not forget the dishwasher, we've been without one for a long time now. It fits so nice!
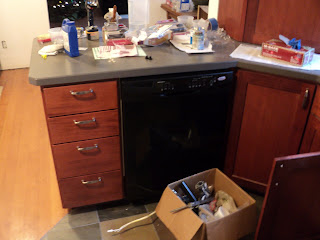 Well, that should do it, right?. .. Umm not so fast, why is the sink not draining? We just assumed the old kitchen drain worked when we tore down.....uh oh. Lets save that for the net post. Enjoy the pics.
 posted by Deder and Andrea | 9:48 PM
|
0 Comments
![]()


